Apr 18 2011
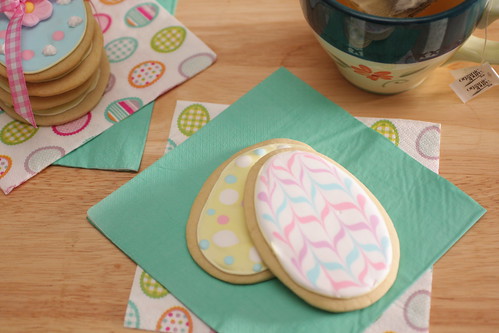
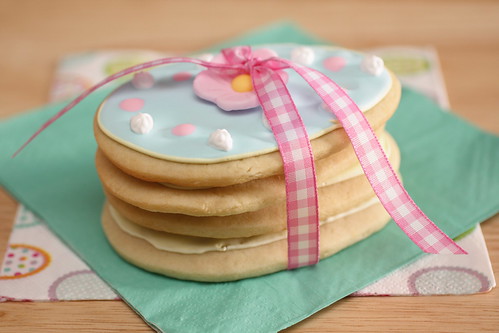
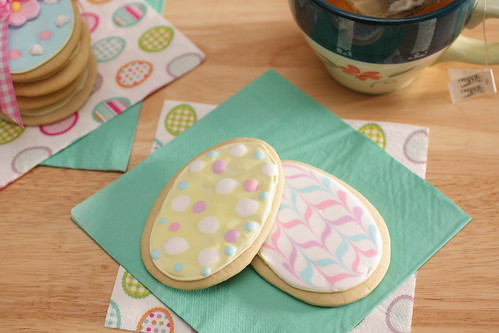
Easter Egg Cookies with Royal Icing
When my brother and I were kids, we went through a phase where every night, we retreated to the basement to work on our paintings. Were we blessed with artistic talent?
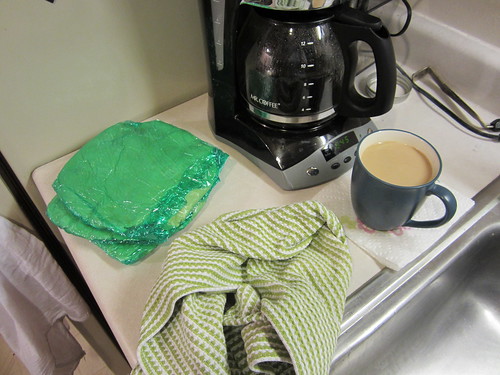
Well, no. We worked on paint-by-number pictures. Before you laugh, allow me to explain why I’m telling this story now. Friday night, during my 4 hour icing project (yes, that’s right – 4 hours of work from the time I started making the royal icing to finishing the last cookie), I realized as I carefully spread wet icing into nooks and crannies with a toothpick that the method used to ice a sugar cookie with royal icing is very much the same as the method I used with paint-by-number pictures.
Have you ever looked at a paint-by-number before someone started to paint? And then looked at the brush that came in the box? I never used the brush. Instead, we both used toothpicks to paint those darn pictures. What can I say? Toothpicks allowed us, as kids, to produce decent looking pictures that are still displayed in our parents’ house. I think.

These cookies are my grown-up paint-by-number pictures, only, instead of painting someone else’s canvas, I design it myself. They’re not difficult designs by any means – I don’t have the artistic talent for that (remember, there’s a reason I did paint-by-number pictures).
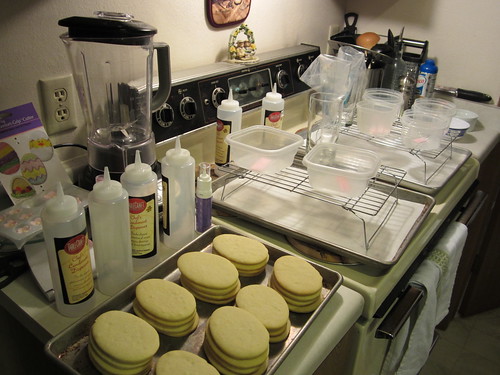
If you’ve ever wanted to try royal icing but have shied away from it, thinking it’s too complicated, I beg you to reconsider. Yes, from start to finish it took me four hours with no breaks. (The cookies I had rolled out, cut, and baked earlier.) But I also worked with five colors of icing for flooding, and two colors for outlining and detail work. Part of the four hours involved organization, as well.

But more than any of that, I’m quite happy with the results, and I have issues with the grip and dexterity of my dominant hand. Put it this way, I dropped several toothpicks into the cookies I was icing, and this morning at the grocery store, I sort of threw an orange when I tried to transfer it from my basket to the conveyor belt; the orange ended up under the conveyor instead.
I’ve found, when it comes to working with royal icing, that as long as you preplan your decoration strategy and stay organized, it’s really an enjoyable process. I find it much, much easier to work with this icing than the confectioners’ coating I grew up with; I’ll let my mom keep that, and I’ll stick to this!
Easter Egg Cut-Out Cookies
recipe from my mom
1 cup butter
3 cups flour
1 teaspoon salt
½ teaspoon baking soda
½ teaspoon baking powder
1 teaspoon vanilla
2 large eggs
1 cup sugar
Cut butter and dry ingredients together (or use stand mixer fitted with paddle attachment). In separate bowl, beat eggs, then mix in sugar. Add vanilla, stir. Make a well in the middle of dry ingredients, add wet sugar mixture and mix with wooden spoon or paddle until just combined. Chill overnight. (To roll the dough out sooner, divide in thirds and form into discs; wrap each disc in plastic wrap and refrigerate 45 minutes.)
Preheat oven to 350*F.
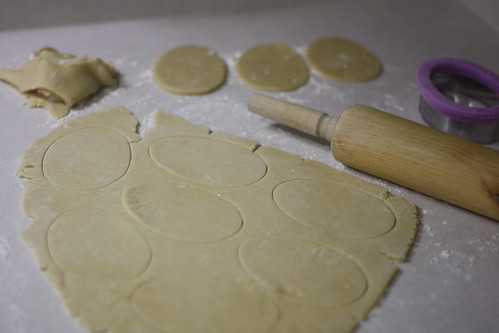
Roll out dough to about 1/4 inch thickness and cut into egg shapes.
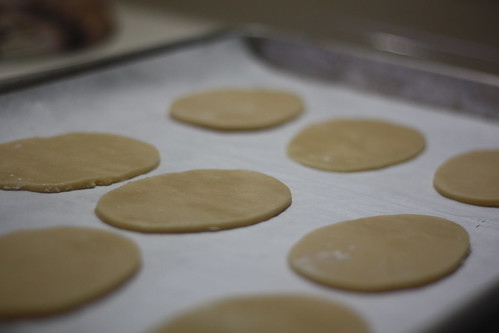
Bake 7-10 minutes, cool on wire rack.
Royal Icing
adapted from Bake at 350
8 tablespoons meringue powder
7 ounces water
15 ounces confectioners’ sugar
2 teaspoons light corn syrup
1 teaspoon clear vanilla extract
Sift confectioners’ sugar into large bowl. Set aside.
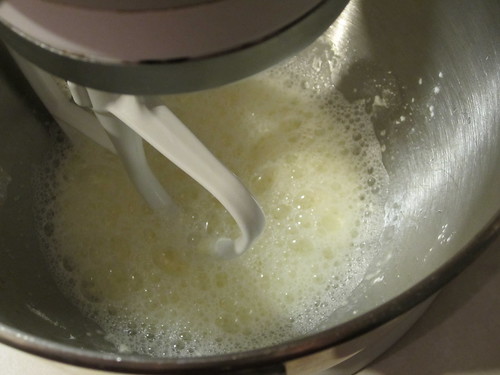
Combine meringue powder and water in bowl of stand mixer fitted with paddle attachment; beat until foamy.
Add sifted confectioners’ sugar to meringue mixture and mix on low to combine. Add the corn syrup and extract, mix on low for a few seconds.
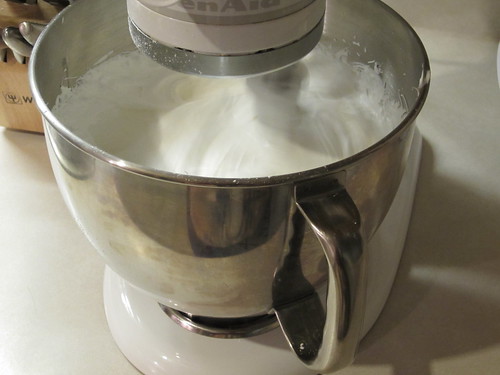
Increase speed to medium-high/high and beat for about 5 minutes, until stiff peaks form (mixture will be glossy).

Cover with plastic wrap touching the icing or divide and color using food colorings (a lot of people recommend using gel paste food coloring, but for these cookies I used liquid color with no problems). To color the icing, divide the stiff icing among clean containers (use as many containers as icing shades you intend to make), then add the desired color and mix with a spatula.
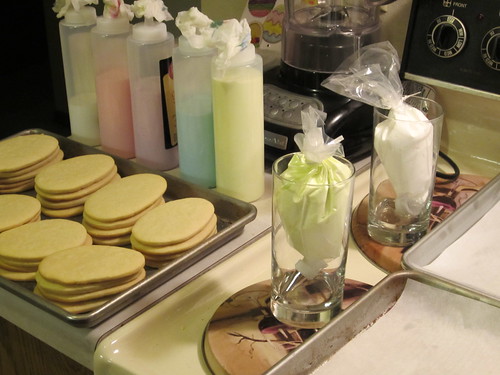
Use the stiff icing for outlining and detail work. Transfer stiff icing to a pastry bag fitted with desired tip (I use round #2 or 5 tip for outlining). (Note: you probably don’t need as much icing for outlining as you think – I have to remind myself to use just half as much as I think I need.)
For flooding color, thin the remaining icing with water until it’s a spreadable consistency (always color icing first, so the flooding icing is the same color as the stiff icing). To begin, add a teaspoon of water, then mix. Continue adding water, 1/2 teaspoon at a time, until the icing falls back onto itself after a count of 5. Transfer icing to plastic chef’s bottles.
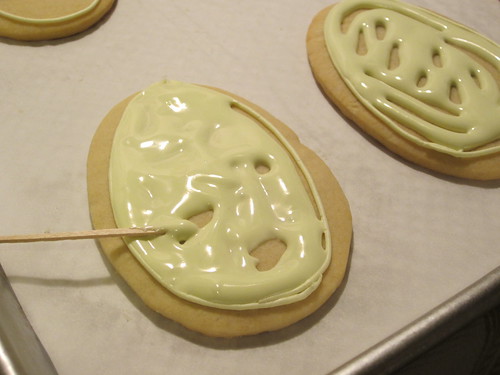
Work cookies in batches, outlining 5 or 6 at a time, then going back and flooding with color. Some people like to let the outline dry completely first, but I find the meeting of the outline and flooded icing to not be as noticeable when I flood immediately. (Except, of course, when I flood with a color other than the outline color – you can still see the border then.)

Allow iced cookies to sit overnight to dry.


[…] Follow this link: Easter Egg Cookies with Royal Icing […]
My word – so talented. You can develop delicious recipes *and* make beautiful-looking cookies. This must have taken forever, but the results are worth it.
WOW these cookies look great! Fabulous job!
Thank you 😀
My brother suggested Imight like this blog. He was totally right.
This post truly made mmy day. Yoou cann’t imagine simply how much time I had
spent for this info! Thanks!