Jun 30 2011
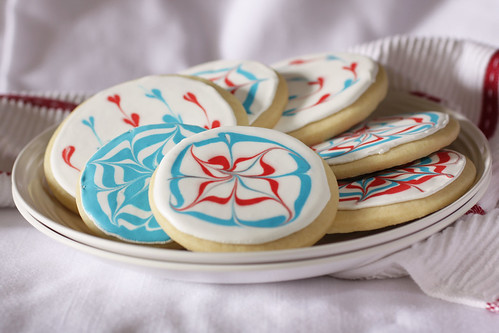
Cookies for the 4th of July

After taking an unplanned vacation from baking when my oven died, I quickly got over my withdrawal when my new oven was delivered. You already saw the first baked good to emerge from the new oven when I made these chocolate shortcakes. That wasn’t enough, so then I made a super-secret dessert (super-secret because I haven’t shared it with you yet…in due time), which quickly succumbed to the warm temperature and humidity.
It was enough. I had my fix.
Or so I thought.
I blame Martha Stewart. More specifically, one of her many magazines. There it was, sitting next to the grocery checkout, adorned with red, white, and blue iced cookies, all decorated to look like fireworks.
I couldn’t get it out of my head, you see. And with the weather about to go all tropical on me again, if I were to bake cookies, and cover said cookies with royal icing, I had a limited amount of time to accomplish this goal. If I was going to do it, I had to do it NOW.
Out of the fridge came two sticks of butter, over to the store I walked to purchase a bag of confectioners’ sugar, dough was made then chilled, and a counter was cleaned off and thoroughly disinfected to become my workspace. Dough was rolled, cookies baked then cooled.
Then came the real project: icing. It’s not difficult, but egg whites are notoriously temperamental when the moisture content of the air is high. Even though I was tired and hungry for dinner, I had to set that aside to ice the cookies, so the icing could set before the humidity went through the roof.
The thing is, these cookies aren’t difficult to make (or ice), as long as you’re organized. (They are time consuming, however. You don’t want to know what time I finally ate dinner last night.)
I didn’t always know they were easy, though. I shied away from royal icing for years. Years. All because I was intimidated. So, I thought rather than just list the recipes, I’d do a step-by-step of both components: the cookies and the icing. So get ready for a lengthy, picture-filled finish. (That said, it was a challenge to get some of the pictures, holding a camera in one hand while using the other to demonstrate a technique.) Please note, you will still want to print the recipe, but the pictures serve as a guide to each step.
The Cookies
Print recipe

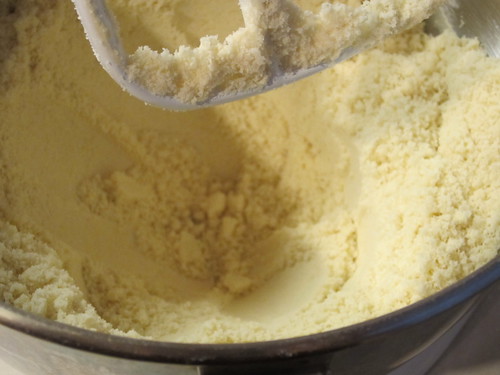
Cut butter into the dry ingredients with 2 knives, a pastry blender, or the paddle attachment on your stand mixer.
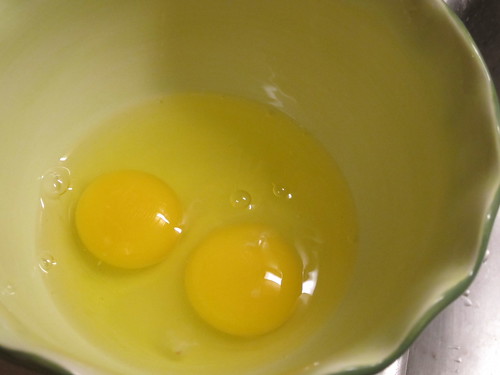
Crack the eggs into a small bowl.
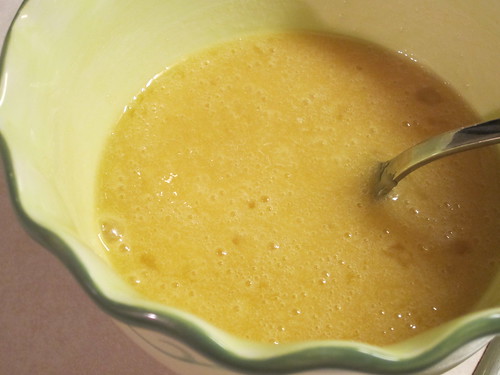
Add the sugar and vanilla, then whisk or combine with a fork.
Make a well in the middle of the flour mixture.

Pour the egg mixture into the well.
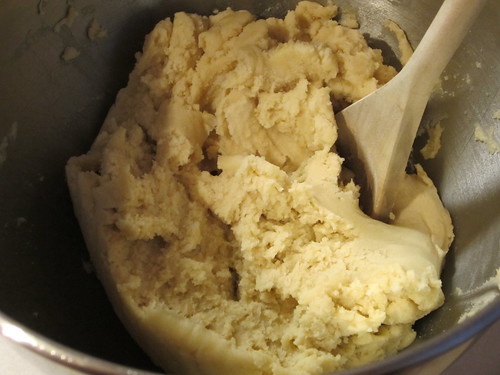
Mix with the paddle attachment or a wooden spoon until combined. If you use a mixer, you’ll still probably need to use the spoon a little at the end, to get that stubborn flour hanging out at the bottom.
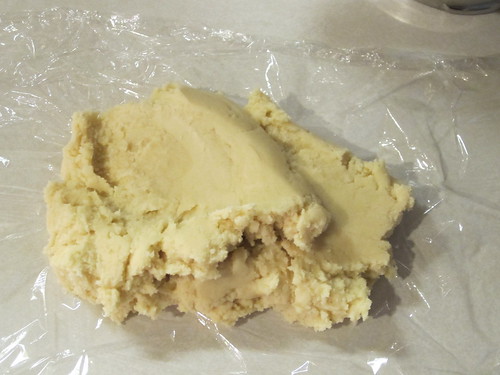
Spoon 1/3 of the dough on a generous size piece of plastic wrap, smack-dab in the middle.
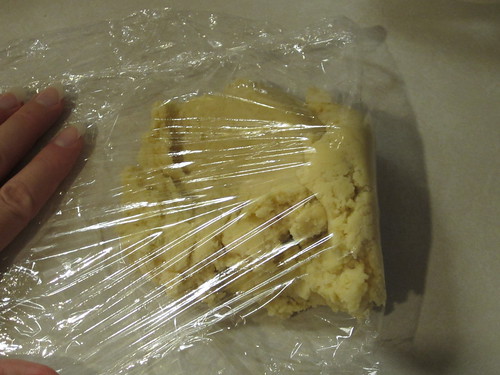
Fold one side of the plastic over.
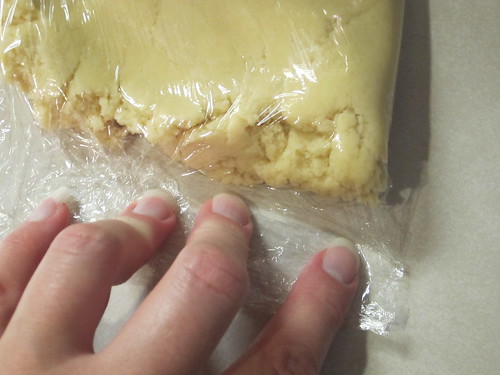
Spreading the dough out a bit with your hands, then press the plastic together around the edges.
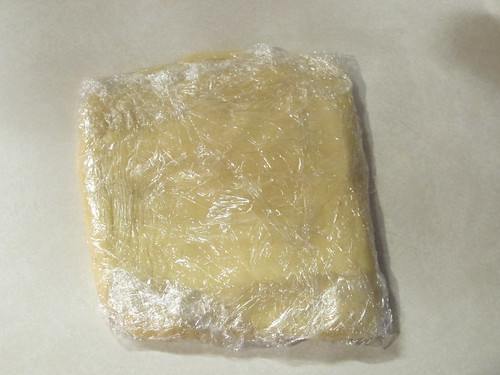
Fold it up to seal, then repeat with the rest of the dough. Into the refrigerator they go for at least an hour, up to 48.
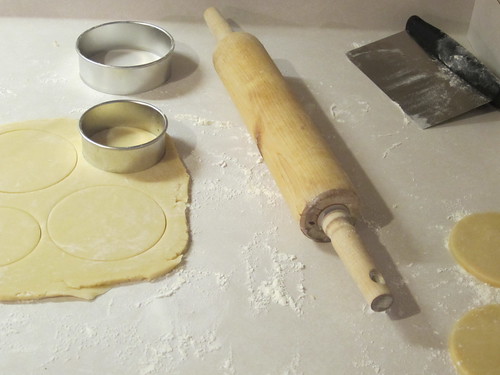
Roll out dough (1/8-1/4 inch thickness) on a floured surface and cut into desired shapes. Bake at 350*F for 8-10 minutes. Cool.
The Royal Icing
Print Recipe
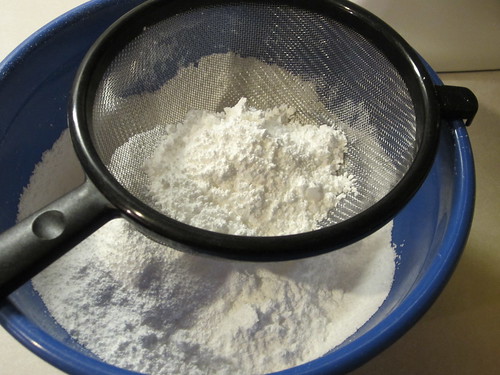
Sift the confectioners’ sugar into a medium bowl.
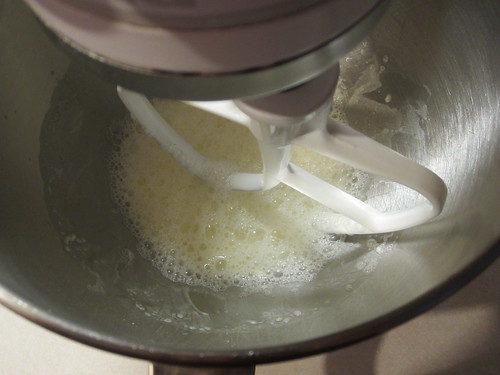
Combine the meringue powder and water in mixing bowl. Beat with paddle until foamy. Add the corn syrup and extract, mix.

If you don’t want to wear a bunch of white powder, turn the mixer off and add the sifted sugar. Slowly increase the speed until you reach medium-high. Beat until glossy with stiff peaks.
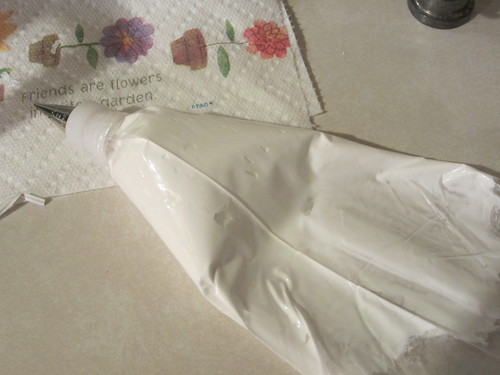
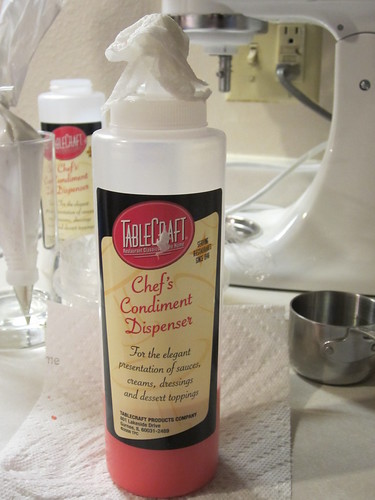
If outlining in white, add some icing to your pastry bag fitted with a small round tip (I use #2 or #5). Use way less than you think you need. I used about 1% of what’s in this bag. Smooth the icing towards the tip, twist the bag above the icing and secure with a twisty tie. Get out a tall glass and pour enough water in to cover the bottom. Place the decorator tip into the water so the icing doesn’t dry out.

Divide your icing into clean containers for each color. Notice my glass of water with the pastry bag in the back?
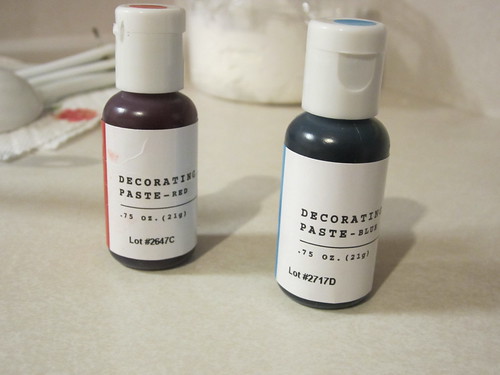
Get your colors ready…
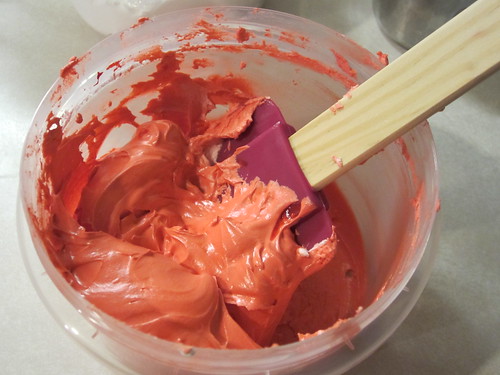
And mix! Remember, in general, a little of the paste coloring goes a long way. Well, except red. I think I used half the bottle. If you need some of the thick icing for outlining, add it to a prepared decorator bag.
Thin the remaining thick icing with water, a teaspoon at a time, until a ribbon of icing falls back onto itself after 3 seconds. Pour into squeeze bottle and cover the tip with a damp paper towel.
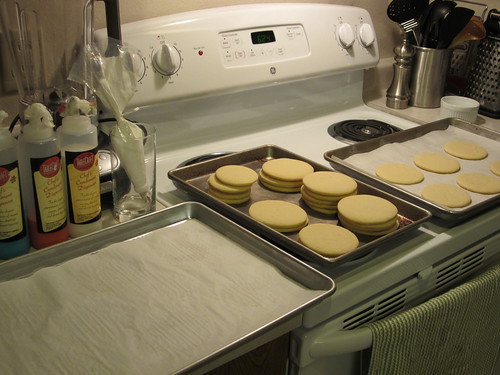
Get organized! Try to have a clean tray or board nearby for decorated cookies, as well as your work area. Make sure the bottles are easily accessible.
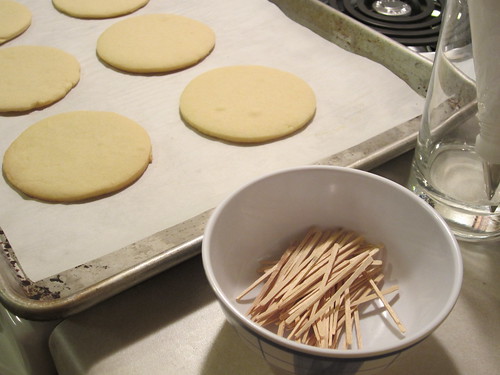
If necessary, move things around a bit. Notice my glass with icing has moved? I remembered from experience that it’s more convenient to have it located off to my right. Also, make sure plenty of toothpicks (clean ones!) are available.
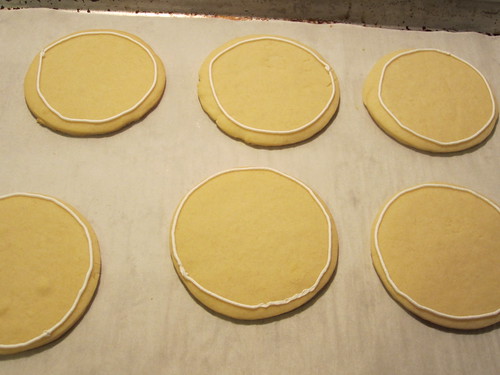
My least favorite part: outlining. The first ones are always the worst. Work in batches of 4-6 at a time.
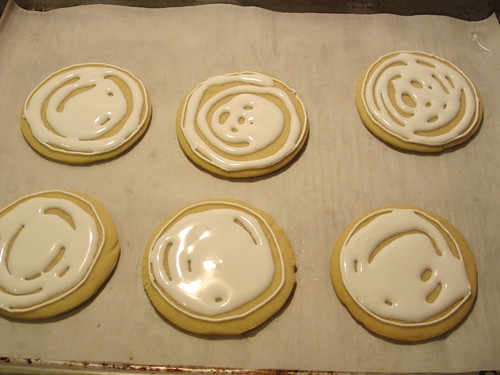
My favorite part: flooding. Just squeeze the thinned icing around the cookies; try to get pretty near the outline without touching it, then move in towards the middle in a swirl.
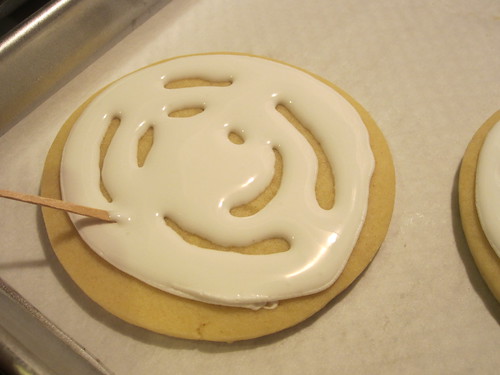
Use a toothpick to spread the icing a bit to fill in the gaps…

so it looks like this.

To make hearts, place dots on the cookie in the pattern you want the hearts to go in. Here, I plan to make a circle of hearts.
Slowly drag the toothpick through the dots, creating hearts.
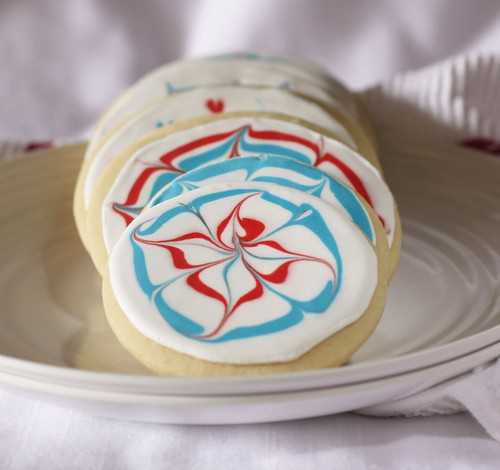
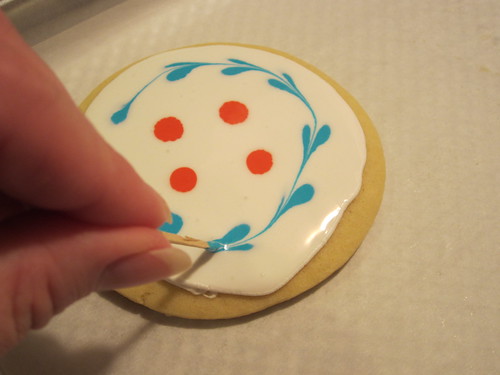
To make a “flower firework”, add circles in the desired colors.
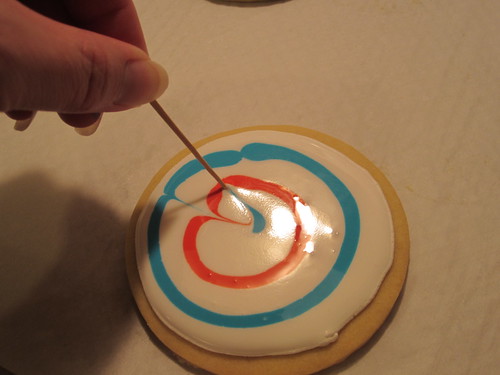
With your toothpick, start at the outside and drag it through the circles to the middle, then back out towards the edge. (Sorry for the crazy picture – I had the camera in one hand, the toothpick in the other.)
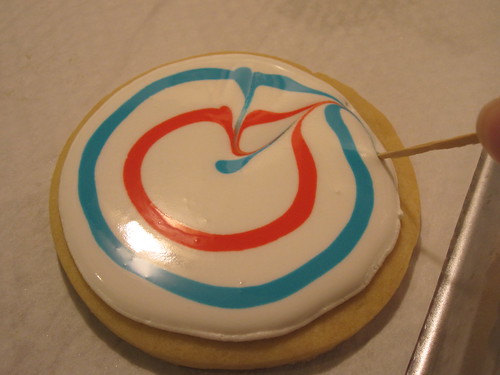
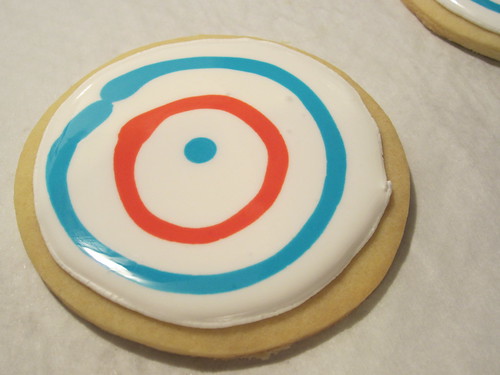
Continue the toothpick pattern, creating petals.
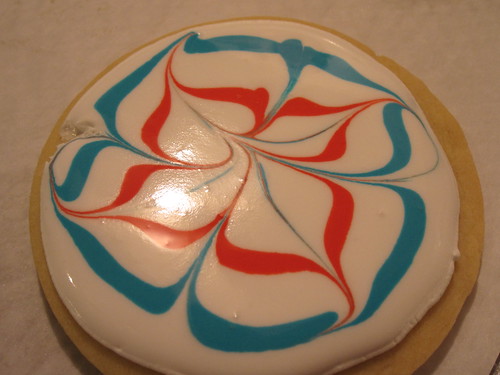
So it looks like this. Well, minus the part where I hit the edge because the camera slipped. Whoops.
(For the more traditional fireworks pattern that I somehow didn’t get a picture of but resembles a spiderweb, do the colored circles, but run each line from the middle to the edge, pick up the toothpick, go back to the middle, run it to the edge, etc.)
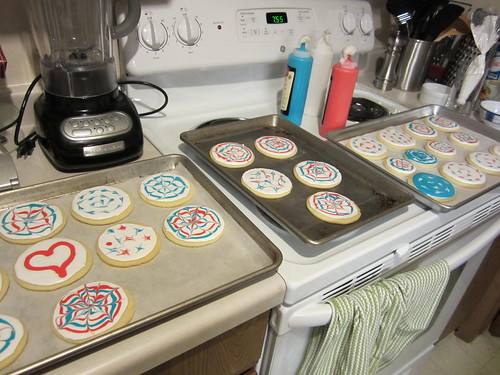
When you’re done, your kitchen might look like this. If necessary, move everything to a safe area (kitty-, child-, significant other-proof area) to dry. Overnight works perfect.
Enjoy your cookies! They’ll keep quite awhile.
Royal Icing recipe adapted from Bake at 350


Sara, this is my first visit to your blog. I love the cookies, you did a great job! I thought about doing them, but then the thought quickly passed and another thought entered my head. 😉
I CANNOT imagine what I’d do if my oven died!! I think I’d be distraught only because I am nearly in the middle of baking for 365 days. I probably shouldn’t even put it out there in the universe…
If I had been in the middle of a project like that, I would have used someone else’s oven. Or figured out how to “bake” on the grill.
It was actually easier to handle than I thought it would be, because it’s been sooo hot. It would have been much more difficult in the middle of winter…
I can’t wait to catch up on your baking adventures!
I saw this in the Martha Stewart Magazine too while waiting to check out my groceries in the supermarket. But, opted to make beignets instead. However, I made berry sauces which I put on a plate (using Martha’s design idea) before placing beignets.
Great tutorial.
Carmen
[…] Cookies for the 4th of July by My Madison Bistro printvar dd_offset_from_content=60;var dd_top_offset_from_content=0;More from SCM Blog:Old Fashioned Homemade PancakesAround the Web: Leftover Easter Eggs Vegetable Tuna Salad About SCM […]
[…] Red, white, and blue sugar cookies. These look sorta tough to make. But so pretty. Sooo pretty. Come here, pretty. (My Madison […]