Jul 27 2011
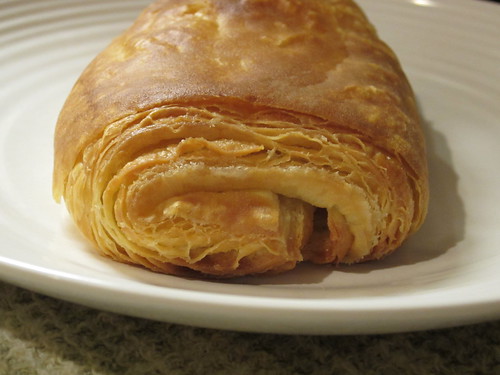
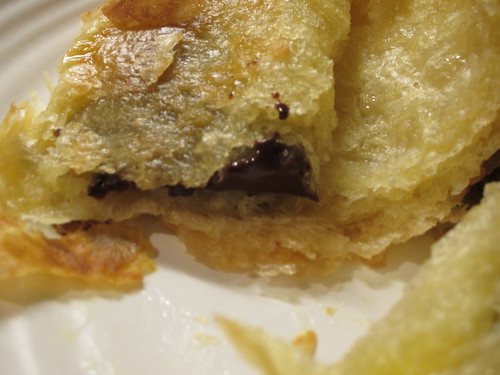
Chocolate Croissants

There’s something very satisfying and rewarding about making your own croissants. It’s about knowing you put your own elbow grease into rolling out that cold, butter-filled dough, over and over. That the soreness you feel in your arms and upper back is a direct result of the chocolate-filled pastry you have baking in the oven.
I’m not going to lie. Rolling a pound of cold butter into a small amount of bread dough, without tearing the dough, isn’t as easy as say, making a batch of chocolate chip cookies.
However.
I’ve never thought twice about eating a croissant that was the result of my own work. I figure that’s the way it should be. I think Michael Pollan would be proud. (If you’re unfamiliar with his writings, the big take-away message from In Defense of Food is that you can eat whatever you want, as long as you’re willing to make it yourself. Want French Fries? Fine – cut up the potato, heat the oil, fry them up. Want a chocolate croissant? Fine – get started on the dough!)
I’m the first to admit that my croissants aren’t perfect. This is the second batch I’ve ever made, the first being regular croissants. But. They are still darn tasty, and I have the knowledge that I didn’t resort to buying them.
I tried to get pictures of each step, so I could photo-document the process for you. It’s really not as daunting a project as it may seem, but you do need to start at least a day ahead of time. I find the easiest thing to do is to make the dough on say, a weekend or vacation when you have the time, then freeze each rolled croissant on a baking sheet, and finally transfer the frozen croissants to a sealed plastic bag to store in the freezer. Then, simply remove the croissants you need before bedtime, let them sit overnight on a parchment/silpat lined baking sheet to thaw and rise, then pop them in the oven for breakfast. See? Easy and convenient.

Chocolate Croissants
recipe adapted from Secrets of Baking
Ingredients
for the croissant dough
8 ounces cold 2% milk
3 teaspoons active dry yeast (or 1 ounce fresh)
2 cups (240 grams) bread flour
1 cup (110 grams) all-purpose flour
2 tablespoons (30 grams) granulated sugar
2 1/4 teaspoons salt
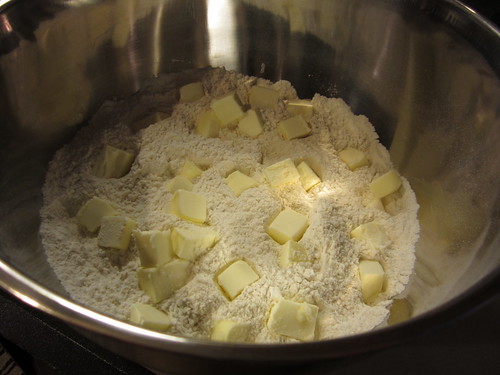
1/4 pound (115 grams) cold unsalted butter, diced
for the butter block
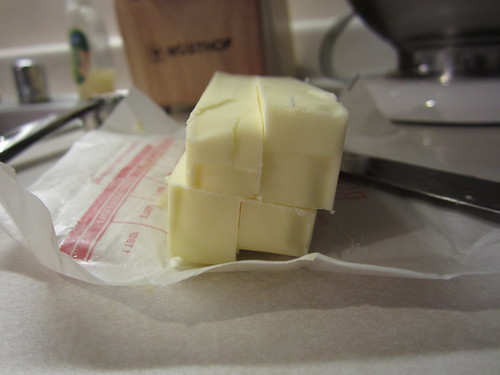
3/4 pound (345 grams) cold unsalted butter
1/4 cup (30 grams) all-purpose flour
for chocolate croissants
1 recipe croissant dough (instructions below)
1 egg + 1 egg yolk for egg wash
6 ounces bittersweet chocolate
Instructions
for the dough
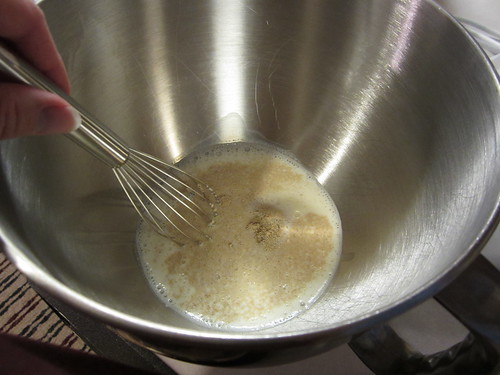
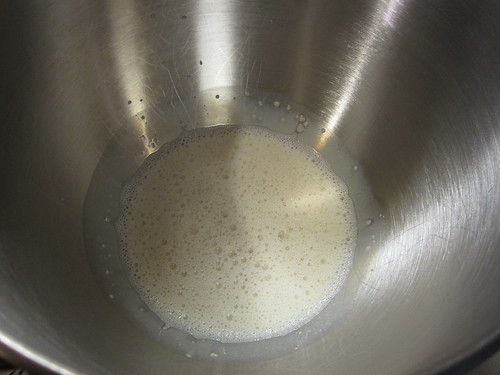
Combine milk and yeast in bowl of stand mixer fitted with dough hook; whisk to combine.
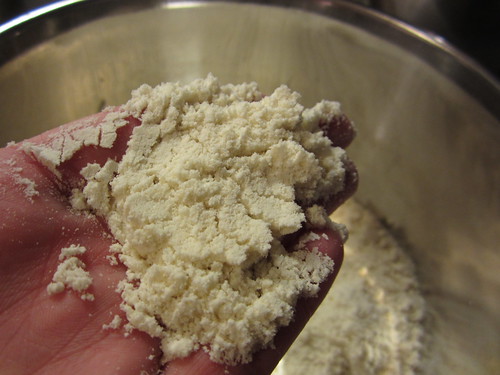
In separate medium bowl, combine flours, sugar, and salt; whisk or stir with a fork to combine. Add butter and work together with your fingers to a fine meal.
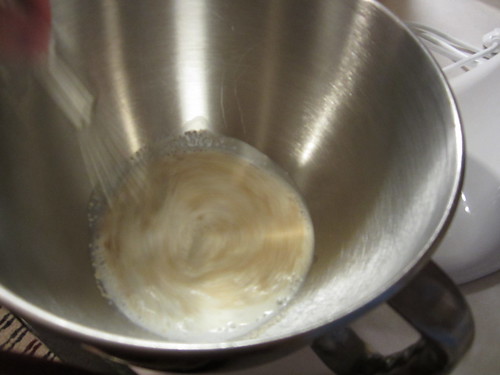
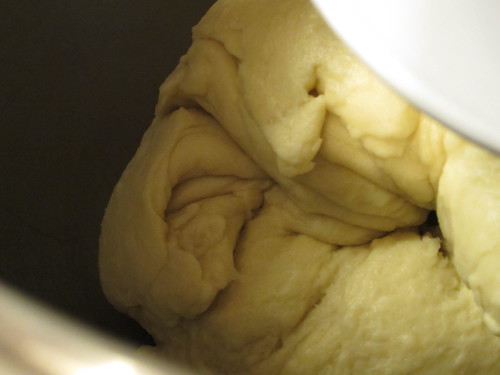
Add flour mixture to milk. Turn mixer on low and knead in pulses at first (so as not to end up covered in flour), then on low for 1 minute.
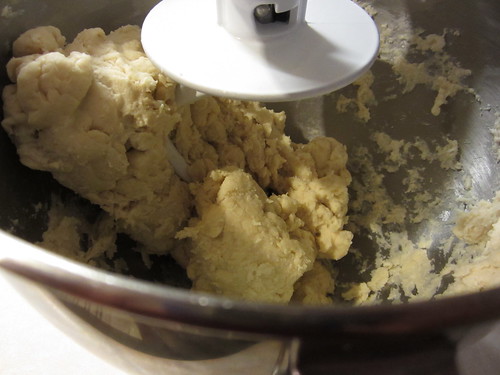
Increase speed to medium and knead until smooth, with a temperature of 70-75*F (21-24*C), about 4-5 minutes. (If dough is dry while mixing, add water 1 teaspoon at a time.) Be careful of overmixing – croissant dough will not have the same elasticity as bread dough.
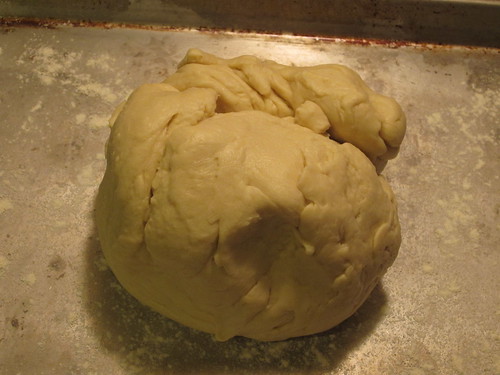
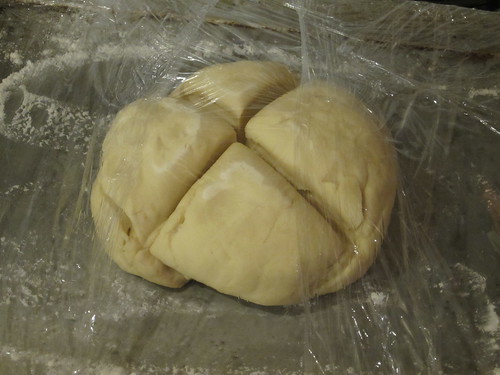
Transfer dough to floured surface. Cut an X halfway through the dough with a very sharp knife.
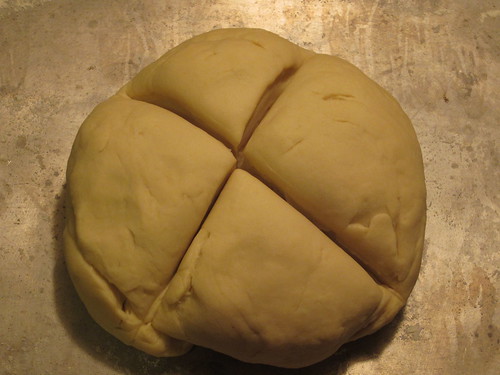
This allows for expansion and easier rolling. Cover with plastic wrap and place on baking sheet (I wrap the entire sheet in plastic wrap).
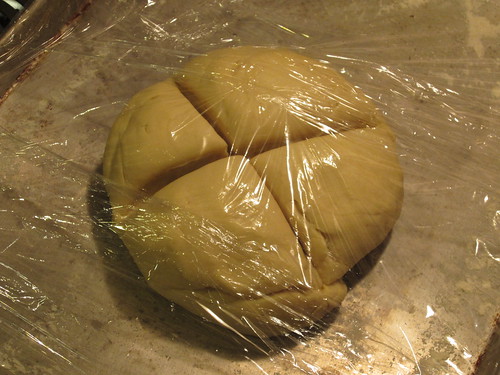
Refrigerate 4 hours to overnight.
for the butter block
Lightly flour a sheet of parchment paper. Add butter and sprinkle with flour.
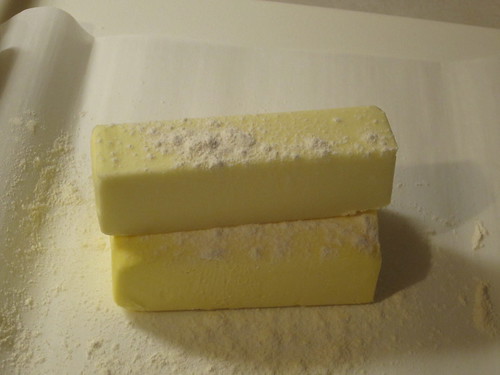
Whack the cold butter a few times with your rolling pin and shape into a 6 inch (15.25 cm) square, about 1 inch (2.5 cm) thick.
to laminate the dough
Remove dough from fridge.
Unwrap and place on lightly floured work surface; sprinkle top of dough with flour. With a rolling pin, roll from center to corner, following the X shape. Roll 3 times in one direction, turn 180 degrees, then roll another 3 times. Turn 90 degrees, and repeat rolling pattern, sprinkling dough with flour as needed. Roll into a 12 inch (30.5 cm)square.
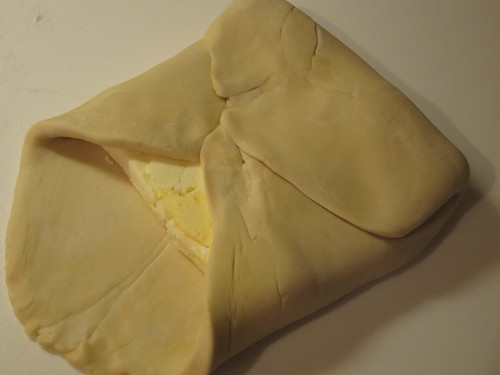
Place butter block in center of dough; it should look like a diamond on the square of dough.

Fold each corner of dough over the diamond; pinch and press to seal the edges to conceal the butter.
Sprinkle the work surface and dough lightly with flour. With your rolling pin, tap the top of the dough, working toward you to seal in the butter. Turn 90 degrees and tap again until the dough is 1 inch (2.5 cm) thick. Roll the dough in an X pattern from center to corner. Always roll the dough away from you, until you have an 8×18 inch (20.25×45.75 cm) rectangle.
Brush off any excess flour with a pastry brush. Measure the dough along the long end into thirds, then fold the right third over the center…
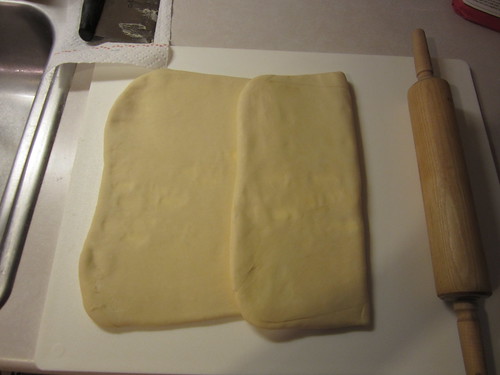
and fold the left third into the center.
This is the first “turn”.
To lock in the turn, place the rolling pin on an unsealed edge of dough and gently press down. Repeat with the two remaining unsealed edges. Roll over the dough in 4 strokes, 2 up, 2 down. Lock in again, then dust off any excess flour. Wrap in plastic, place on baking sheet, and refrigerate for 30 minutes.
After the 30 minutes is up, remove the dough from the fridge. Place it lengthwise on your floured surface (open ends should be to the left and right). With your rolling pin, roll the dough into another rectangle, about 1/2 inch (1.25 cm) thick. Fold the right third to the middle, followed by the left third. That’s the second turn. Wrap in plastic and refrigerate for 30 minutes.
After the 30 minutes is up, remove the dough from the fridge. Place it lengthwise on your floured surface (open ends should be to the left and right). With your rolling pin, roll the dough into another rectangle, about 1/2 inch (1.25 cm) thick. Fold the right third to the middle, followed by the left third. That’s the final turn.
Wrap dough in plastic wrap; place in the fridge for 5 hours to overnight.
to form croissants
Whisk egg and yolk in small bowl until thoroughly blended.
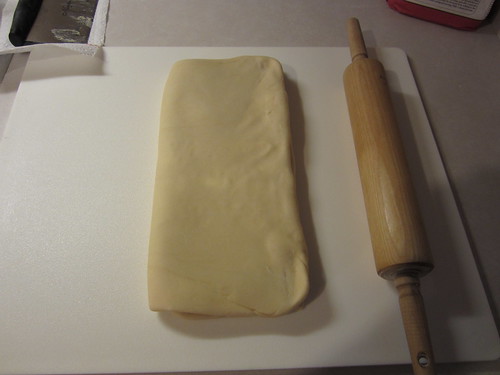
Remove dough from fridge and remove plastic. On lightly floured surface, roll dough into 18×20 inch (45.75 x 50.75 cm) rectangle. (If dough keeps springing back when rolling, let it rest 5 minutes to allow the gluten to relax.)
Using a ruler and pizza cutter or pastry wheel, cut the rectangle into 3 horizontal rectangles, measuring 6×20 inches (15.25 x 50.75 cm). Cut vertical strips every 5 inches (12.75 cm) to make smaller rectangles measuring 6×4 inches (15.25 x 10.15 cm).
Place unwrapped chocolate bar in microwave and nuke it in 5 second intervals (2-3 times should do it) until it’s pliable enough to cut with a sharp knife without splintering the chocolate. Each “baton” should weight about 1/4 ounce. Alternatively, finely chop chocolate.
Line two baking sheets with parchment paper/silpat.
With a pastry brush, brush the top edge of each rectangle with egg wash.
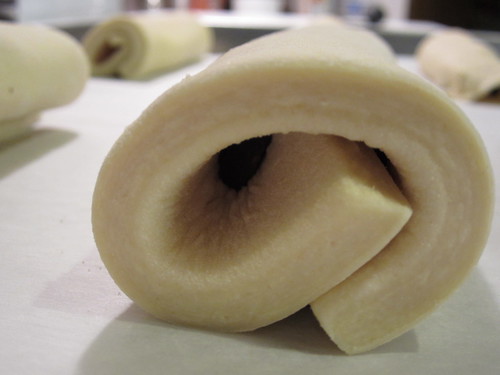
Place 2 “batons” or 1/2 ounce chopped chocolate at opposite edges of each rectangle (along the short sides). Roll each croissant up (like a roulade or jellyroll) towards the egg washed end, then place on prepared baking sheet, edge facing down.
Leave about 2 inches (5 cm) space between croissants.
If baking immediately, proof at room temperature until doubled in size. If freezing dough, place baking sheet in freezer to individually freeze each croissant; when completely frozen, place all croissants in a sealed plastic bag, return to freezer.
to bake
Preheat oven to 400F/200C. Brush croissants with egg wash. Bake 12 minutes on middle rack, then reduce oven to 350F/175C for an additional 10-12 minutes or until a deep golden brown.
Cool and serve. Store remaining croissants in sealed plastic bag for up to 2 days.
to bake frozen croissant dough
Remove desired number of croissants from freezer the night before baking, right before you go to bed is fine. Place on parchment lined baking sheet to thaw and proof overnight. In the morning, follow baking instructions for fresh croissants.


I’m learning to crawl with yeast recipes and I am saving this beautiful one for when I learn to walk, better yet run with them!
Actually, I would say this is more similar to rolling out a pie crust or sugar cookie dough than it is to a yeasted bread recipe. So, if you’re comfortable with a rolling pin, don’t give the yeast a second thought. Yes, it’s there, but in my opinion, it’s the rolling of the dough that’s the most important; the yeast is mostly doing its thing at the end when the croissants proof.
I just wanted to let you know that I made your Cashew Chicken the other night–it was fabulous and my husband and I ate every bit of it! It was pretty simple, as well.
Thank you!!
SJ
I’m glad you liked it. Thanks for reminding me that I should make it again soon!